In this tutorial, I am going to show you how to draw a Santa hat step by step. It is so much fun to draw it, especially during Christmas time when you’d be overwhelmed to see everything around you look festive.
So, aren’t you excited? Then, look no further, my Santa Cap drawing tutorial is simple and fairly easy to learn, and together we could learn through the video tutorial too.
Surprisingly, we all waited for Christmas eve so that we could wear that fantastic Santa Claus hat. You can showcase your hat while learning this drawing.
Know-it-all Before You Start…
- Drawing Materials Needed: Drawing Sheet, Pencil & Eraser, Water Color/Crayons
- Expected Time: 25 minutes (Including coloring)
- Difficulty Level: Moderate
Santa Hat Drawing Instructions
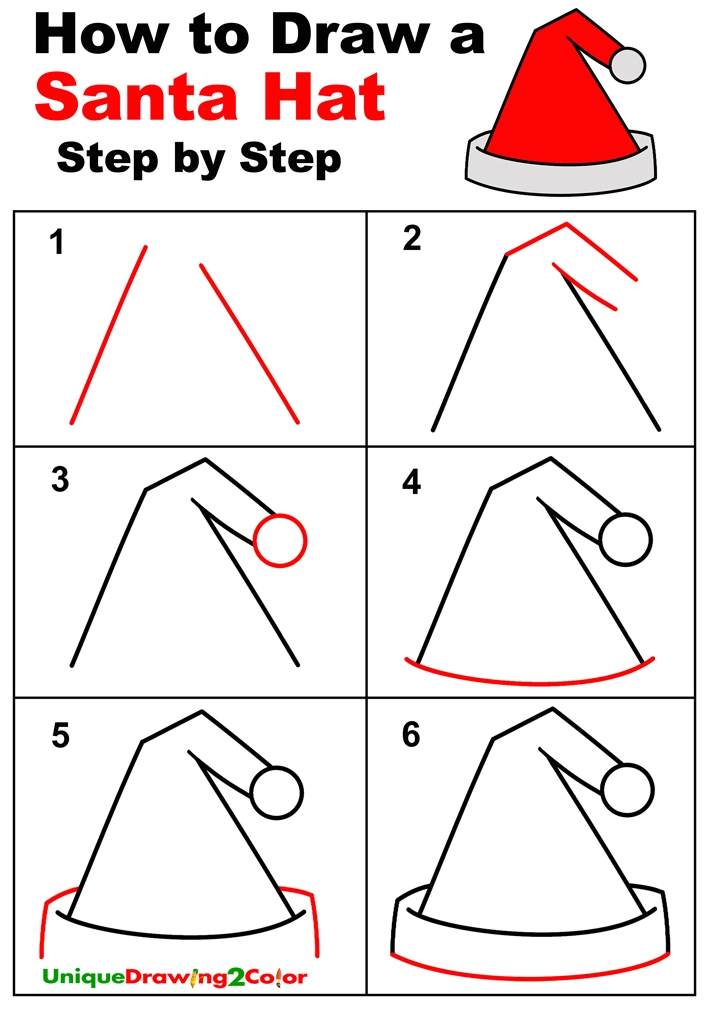
Step 1: Draw two straight lines as shown.
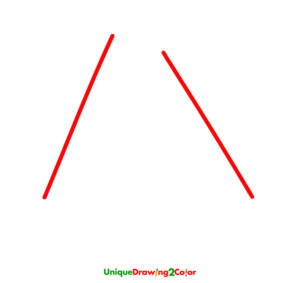
Step 2: Now draw three small straight lines at the top, as shown in the picture.

Step 3: Join the top part with a small circle.
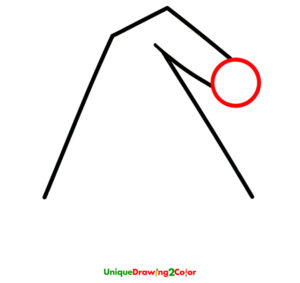
Step 4: Now join the bottom part with a big curvy line.
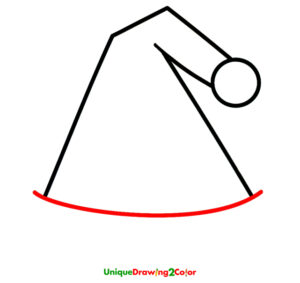
Step 5: Now add two lines on both sides of the hat as you are seeing.
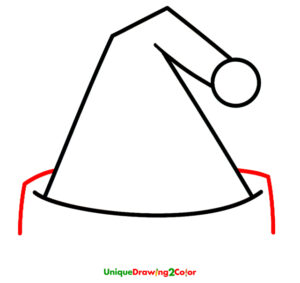
Step 6: Now add it with a big curved line.
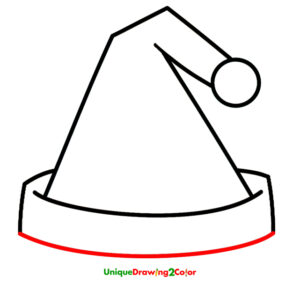
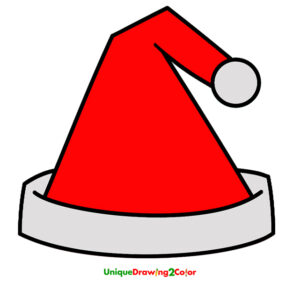
Step 7: make it colorful as you want, or as shown.
How to Draw a Santa Hat Step by Step
Be in a hurry, before Christmas comes you must have to learn it. If you are facing any problems then just download this step-by-step free printable picture.
Related Hat Drawing Tutorial:
Video
I hope this video tutorial will be a great help for kids, and who are beginners in the art. Altogether I can say that adding small details to the fluff of the hat could be somewhat challenging.
Take your time to draw the clean and detailed parts which would make that hat look more real, and you can only do it by these guidelines, so follow and subscribe to my website for more updates.

