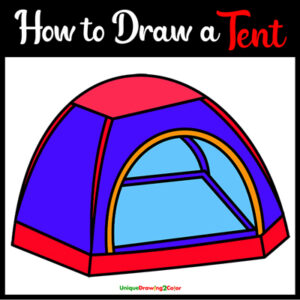
Sometimes, drawing a certain pattern or thing can be difficult. So, learning how to draw a tent requires a proper way and technique. You can get the right tips and tricks to draw it without any difficulties.
When I am with you then, it’s a piece of cake to know drawing a tent without skills. So, follow my simple instructions provided through the step by step pictures and make your own art.
Know-it-all Before You Start…
Drawing Materials Needed:
- DrawingSheet
- Pencil
- Crayons/Water Color
Expected Time:
- 45 minutes (Including Coloring)
Difficulty Level:
- Moderate
How to Draw a Tent Step by Step
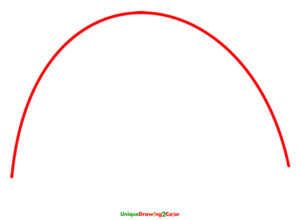
Step 1: Draw a half oval shape.
Step 2: Join it with three straight lines.
Step 3: Now double the straight lines.
Step 4: In this step, connect the parallel lines.
Step 5: Draw a “V” shape widely.
Step 6: Now connect the edge of V with the parallel line as shown.
Step 7: In this step again draw a half oval.
Step 8: Now double the circle.
Step 9: Make a trapezium with one arm left.
Step 10: Double the trapezium.
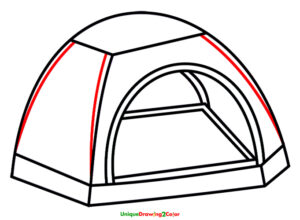
Step 11: Draw a small curvy parallel line, as shown in the picture.
Step 12: Do some borderlines to make it beautiful.
Step 13: Now it’s time to make this tent colourful.
How to Draw a Tent (Printable Picture)
If you are a newbie in the drawing field, this step-by-step picture will surely help you to draw this tent very easily. So, why are you waiting? download this printable picture and start drawing.
Video Tutorial
No matter what theme you’re wondering about creating a camping tent drawing or others, you could take our video tutorial as a great reference for your help. For the latest updates, subscribe and follow us.
I think that my guidelines helped you, and now you are an expert on every type of tent drawing. But if still facing any difficulties with this drawing, just let me know via email or commenting below. I will be there to help you as soon as possible.

